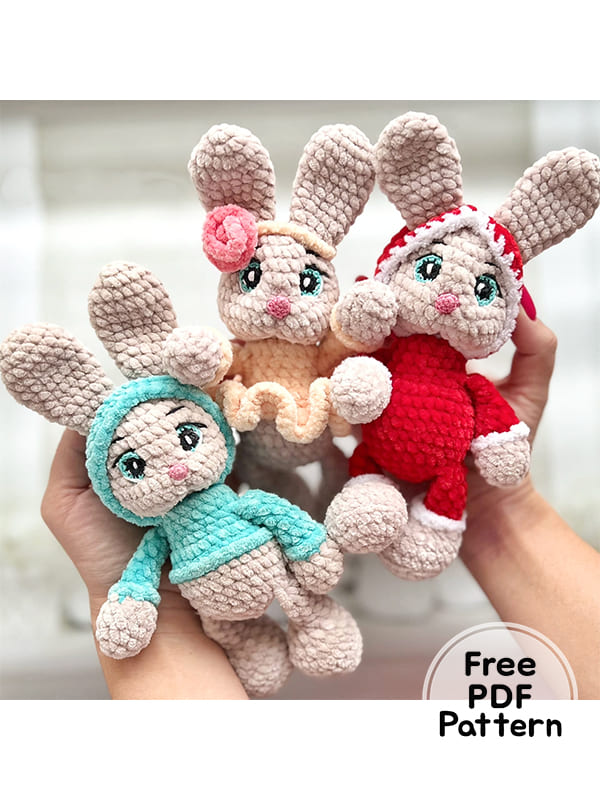
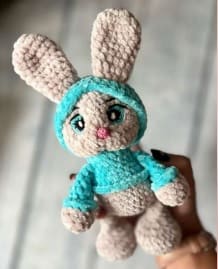
Greetings friends, today we will make a plush crochet bunny amigurumi pattern with you. I would like to thank the pattern designer for the crochet bunny pattern. The size of the crochet amigurumi toy is about 18 cm, considering the ears. To make this crochet bunny, the author used Himalayan Velvet plush yarn and a 3mm hook. You will learn how to make a crochet bunny thanks to the detailed step by step bunny pattern instruction. Now I invite you to the free amigurumi instruction.
Baby Crochet Bunny Amigurumi Free PDF Pattern
Designer: Anastasiya Konovalova
Materials
1) Yarn “Himalaya Velvet” main color 90042, the cost per bunny is about half a skein.
Additional colors take any
2) Yarn “Vita Coco” colors white, black, blue and pink
2) Hook number 3 for a toy, 1.25 for small parts
4) Fiberfill, needle, scissors
5) If you want the head to spin, we take a cotter pin 32 mm, 2 discs 25-30 mm. (or 1 joint)
Abbreviations
MR: Magic ring
Ch: Chain
Sc: Single crochet
Inc: Increase
Dec: Decrease
Slst: Slip stitch
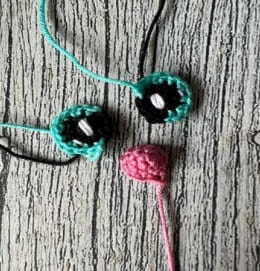
We start crocheting with black yarn.
1) 6 sc in MR
2) 6 inc ( 12 )
3) Change the thread to blue.
( 1 sc ,inc ) *3, 2 sc , slst.
We embroider highlights on the eyes with white thread.
Nose (pink)
1) 6 sc in MR
2) ( 1 sc, inc ) *3 ( 9 )
3) 9 sc
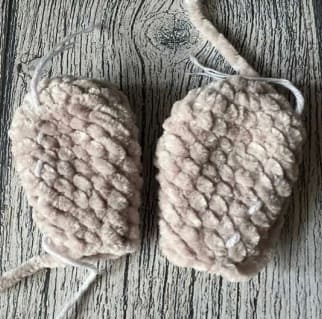
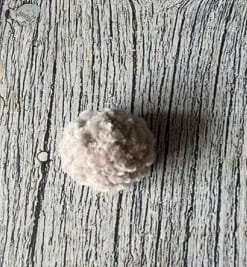
Tail
1) 6 sc in MR
2) 6 inc ( 12 )
3) 2 sc , we fill .
4) 6 dec, cut the thread, tighten the hole.
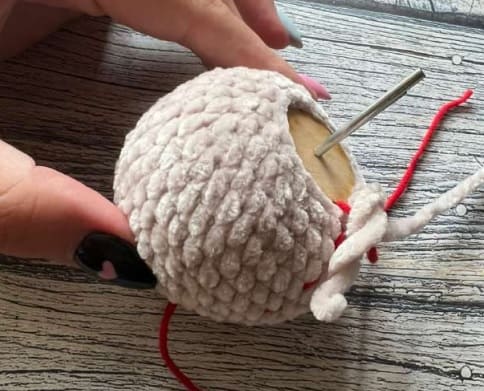
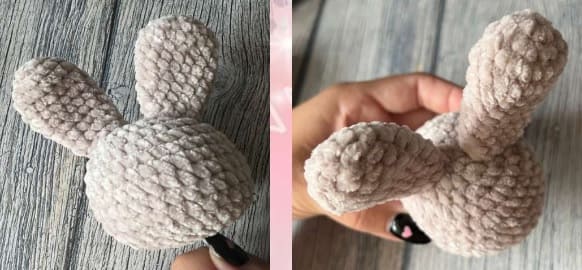
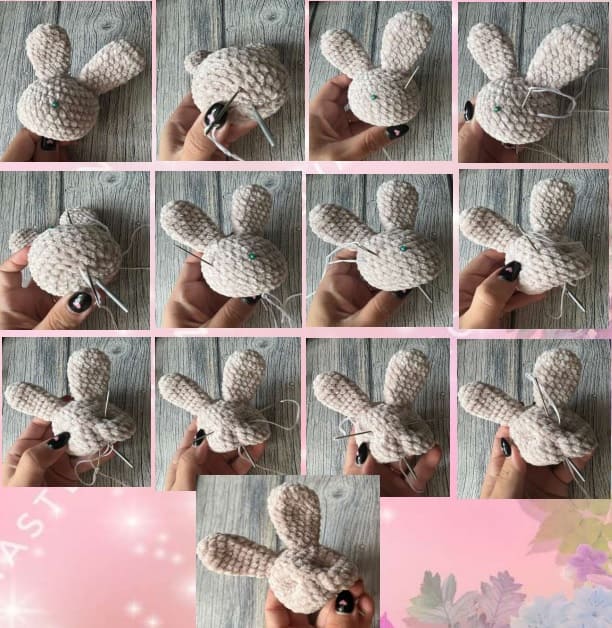
We collect the head.
Sew on the ears on the head. (see photo)
We put a pin between 7 and 8 rows in the center of the muzzle. The tightening goes in 3 stages. First stage: We step back down from the pin 7 rows, insert the needle, then it goes up, stepping back from pins 5 loops to the side, then step back 2 loops and the pin comes back down again, repeat the same thing on the other side, tighten the threads. Second stage: We make cheeks, for this we put the thread on top and insert the needle stepping back 6 rows up and the needle comes out back. We tighten. Third stage: The needle comes out at the eye, then we pull it out from the opposite side, at the other eye, then retreating 1 loop up, again return the needle in the opposite direction, slightly higher, tighten. (we should get a nose bridge)
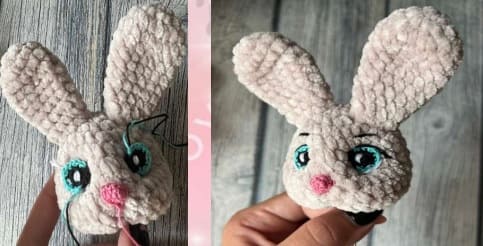
Sew eyes and nose.
We embroider eyelashes, eyebrows, and also with a white thread we make stitches under the eyes.
Hood
1) 6 sc in MR
2) 6 inc ( 12 )
3) (1 sc ,inc )*6 ( 18 )
4) 1 sc, inc , ( 2 sc,inc ) *5, 1 sc ( 24 )
5) ( 3 sc ,inc ) *6 ( 30 )
6) 2 sc ,inc , ( 4 sc ,inc ) *5, 2 sc ( 36 )
7-10) 36 sc ( 4 rows )
11) 10 sc, 7 ch , skip 7 loops from below, knit 2 sc, again 7 ch, from below skip 7 loops and crocheting to the end of the row 10 sc (36)
12) 36 sc
13) 2 sc , dec , ( 4 sc, dec ) *5, 2 sc ( 30 )
Body
We begin to crocheting with an additional color.
1) 6 sc in MR
2) 6 inc
3) ( 1 sc , inc ) *6 ( 18 )
4-5) 18 sc ( 2 rows )
insert the head.
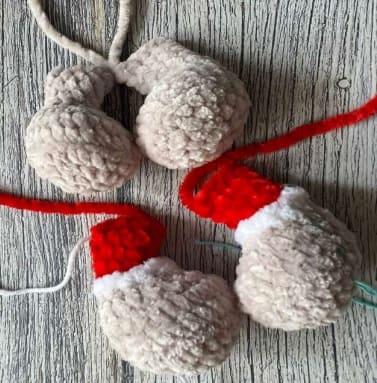
We knit our paws.
6) 3 sc, 3 sc with foot, 6 sc, 3 sc with foot, 3 sc ( 18 )
7) 1 sc , inc , ( 2 sc ,inc ) *5, 1 sc ( 24 )
8-9) ( 3 sc , inc ) *6 ( 30 )
if you have a dress or a sweatshirt at this stage, we change the thread to the main thread, if you have a jumpsuit, then we knit further with an additional color.
10) BLO: 30 sc
11) -12) 30 sc ( 2 rows )
13) ( 3 sc,dec ) *6 ( 24 )
We fill.
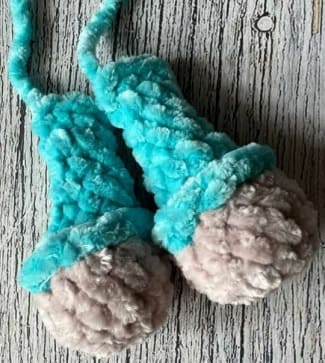
14) We knit legs.
5 sc, 4 sc with a leg, 8 sc, 4 sc with a leg, 3 sc
15) 1 sc , dec , ( 2 sc , dec ) *5, 1 sc ( 18 )
16 ) ( 1 sc , dec ) *6 ( 12 )
17 ) 6 dec , cut the thread, tighten the hole.
Bandage
28 ch.
we make in a circle immediately attach a thread of additional color and crochet 18 loops, then turn the crocheting and crochet in the opposite direction of the increase to the end of the row.