Greetings friends, today we will work with you as a crochet gnome amigurumi pattern as a christmas ornament. You can complete the pattern without difficulty thanks to the step by step detailed and easy amigurumi gnome pattern instruction. It is an easy amigurumi pattern for beginners. You can use cute gnomes to decorate your house or Christmas tree at Christmas time. Follow the free amigurumi pattern instruction right now and complete the amigurumi gnome.
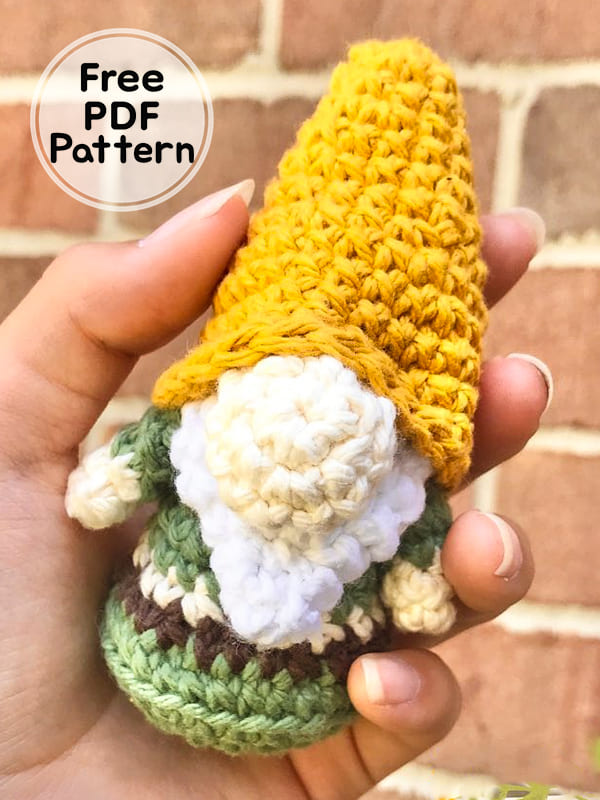
• Yarn color A (skin color- for hands and nose)
• Yarn color B (beard)
• Yarn color C (hat)
• Yarn color D (clothes/ body)
• Optional: [Yarn color E (for strips on clothes)]
• Crochet hook that is suitable for the yarn you chose
• Stuffings
Abbreviations
Mr – Magic Ring
sc – single crochet
hdc – half double crochet
dc – double crochet
slst – slip stitch
ch – chain stitch
inc – increase
dec – decrease
BLO – Back loop only
1. Connect the beard and the nose with the yarn left (place the nose at the top middle of the beard).
2. Sew them (1) on to the top middle of the body.
3. Sew on the arms to both sides of the body.
4. Place the hat around the body, and slightly above the nose (It’s gonna be tight) and angle the hat towards the back.
5. Sew it on.