
Hello my dear friends. Today we are going to embroider a free piglet crochet pattern together. First of all, I would like to thank the owner of the pattern for the piglet crochet pattern. When making the crochet pig, our designer used chunky yarn and a 3.5 or 4 mm crochet hook. It is an amigurumi toy that children who love Winnie the pooh will love. Take a look at the required materials list and create your own crochet piglet toy right now.
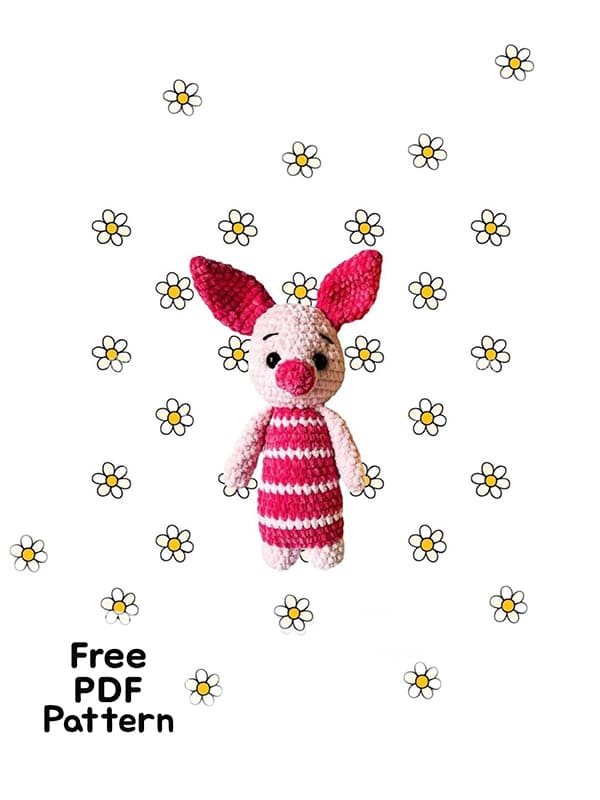
Plush Piglet Crochet Pattern Free PDF Amigurumi
Designer: madelinemaeco
Supplies
• Premier yarns parfait chunky in the colors: cotton candy and bright pink.
• 3.5/ 4 mm crochet hook.
• Polyfill.
• 1.6 mm safety eyes.
• Darning needle.
• Scissors.
Abbreviations
MR: Magic ring
Ch: Chain
Sc: Single crochet
Inc: Increase
Dec: Decrease
Slst: Slip stitch
BLO: Back loop only
FLO: Front loop only
Arms (Make two)
Cotton candy color.
Rnd 1. 7 sc in MR (7)
Rnd 2-13. sc around- 12 rounds (7)
Do not stuff. Sc closed. Knot off and leave a long yarn tail for sewing.
Ears (Make two)
Bright pink color.
Rnd 1. 4 sc in MR (4)
Rnd 2. 4 sc around (4)
Rnd 3. 4 inc (8)
Rnd 5. (1sc,inc)*4 (12)
Rnd 6. 12 sc around
Rnd 7. (2sc,inc)*4 (16)
Rnd 8-10. 16 sc around- 3 rounds (16)
Rnd 11. (2sc,dec)*4 (12)
Rnd 12. 12 sc around (12)
Rnd 13. 1 sc, dec (8)
Sc closed and leave a long yarn tail for sewing. Do not stuff.
Nose
Starting in the color bright pink.
Rnd 1. 6 sc in MR (6)
Rnd 2. 6 inc (12)
Color change to cotton candy.
Rnd 3. 12 sc in BLO (12)
Rnd 4-5. 12 sc around- 2 rounds (12)
Fasten off. Leave a long yarn tail for sewing. You can stuff the nose now or stuff as your sewing onto the head.
Legs
In cotton candy color.
Make two. Fasten off the first leg but not the 2nd leg. You will be connecting the 2nd leg to the 1st leg.
Rnd 1. 6 sc in MR (6)
Rnd 2. 6 inc (12)
Rnd 3-4. 12 sc around- 2 rounds (12)
Body
In color cotton candy.
Rnd 1. Connect with a sc, then continue sc around for 24 sc (24)
Rnd 2. 5 sc, inc, 5 sc, inc x 2, 5 sc, inc, 5 sc (28)
Color change to bright pink.
Rnd 3-4. 28 sc around- 2 rounds (28)- add stuffing.
Color change to cotton candy.
Rnd 5. 28 sc around (28)
Color change to bright pink.
Rnd 6-7. 28 sc around- 2 rounds (28)
Color change to cotton candy.
Rnd 8. 7 sc, dec, 13 sc, dec, 4 sc (26)
Color change to bright pink.
Rnd 9-11. 26 sc around- 3 rounds (26)- keep stuffing and shaping the body.
Color change to cotton candy.
Rnd 12. 26 sc around (26)
Color change to bright pink.
Rnd 13. 8 sc, dec, 11 sc, dec, 3 sc (24)
Rnd 14-15. 24 sc around- 2 rounds (24)- stuff the body.
Color change to cotton candy.
Rnd 16. 2 sc, dec x6 (18)- still stuff.
Color change to bright pink.
Rnd 17. 18 sc around (18)- stuff a lil bit more.
Rnd 18. 1 sc, dec x6 (12)- add stuffing.
Color change to cotton candy and add stuffing.
Head
Rnd 19. (inc)*12 (24)
Rnd 20. (3sc,inc)*6 (30)
Rnd 21. 15 sc, inc x2, 11 sc, inc x2 (34)
Rnd 22. 15 sc, inc, 17 sc, inc (36)
Rnd 23-25. 36 sc around- 3 rounds (36)
Rnd 26. 4 sc, dec x6 (30)- start stuffing and shaping the head.
Adding more stuffing towards the sides of the head where you increased at shape this part of his head it helps define his head shape.
Rnd 27-28. 30 sc around- 2 rounds (30)- keep stuffing.
Eyes between rounds 26 & 25. 5 visible stitches apart.
Rnd 29. (3sc,dec)*6 (24)
Rnd 30. 24 sc (24)- stuff and shape.
Rnd 31. (2sc,dec)*6 (18)- keep stuffing and shaping.
Rnd 32. (1sc,dec)*6 (12)- yup keep on stuffing. Making sure to get the corners of the head stuffed good.
Rnd 33. dec x6
Close the circle.
Assembly
– Nose is sewn between the eyes covering about 3-4 rounds down.
– Eyes brows are added above the eyes with a smaller weight yarn.
– Ears are sewn starting about 3-4 rounds from the magic ring on the top of the head. You will have to sew into the back of the ears to make sure they stand up on their own.
– Arms are sewn onto the side of the body in between the color changes.
– Face/ eye shaping.


