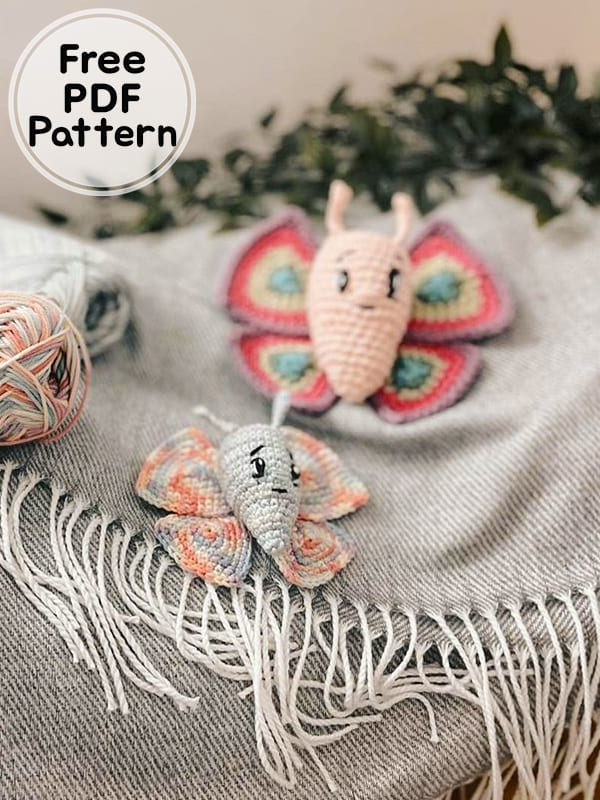
Greetings from a good week. Today we will make a crochet butterfly amigurumi toy with you. Thanks to the step by step and short crochet butterfly pattern instructions, you can complete the amigurumi toy without difficulty even if you are a beginner. The crochet butterfly consists of 3 parts with its body, wings and antennae. Each one is processed separately and fixed later. When embroidering the cute butterfly, you can choose yarns in the colors you want. Check out the free amigurumi pattern right now and get to work. Feel free to share your completed crochet butterfly with us.
MR: Magic ring
Sc: Single crochet
3 sc/st: 3 sc in one st
Inc: Increase
Dec: Decrease
Ch: Chain
FLO: Front loop only
BLO: Back loop only
Materials
Yarn: cotton or chenille.
one color for the body.
Different color or colorful yarn for the wings.
Embroidery yarn or safety eyes.
Crochet hook
Stitch markers
Scissors, needle, fiberfill
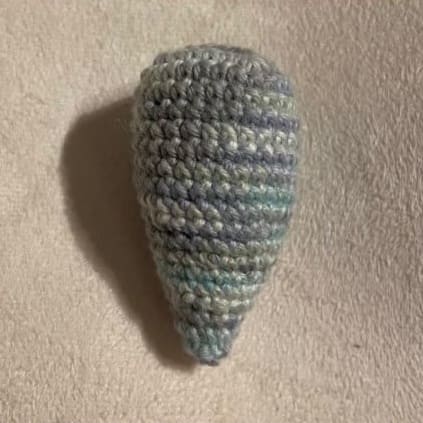
Body
color: body color.
Rnd 1. 4 sc in MR (4)
Rnd 2. 3 sc in every st (12)
Rnd 3. (1sc, 3 sc/st, 1 sc)*4 (20)
Rnd 4. (2sc, 3 sc/st, 2 sc)*4 (28)
Rnd 5-12. 28 sc (8 rounds)
If you are using safety eyes, don’t forget to attach them.
Stuff the body with fiberfill.
Rnd 13. (5sc,dec)*4 (24)
Rnd 14. 24 sc
Rnd 15. (2sc,dec)*6 (18)
Rnd 16-17. 18 sc (2 rounds)
Rnd 18. (1sc,dec)*6 (12)
Rnd 19-20. 12 sc (2 rounds)
Rnd 21. (dec)*6 (6)
Cut a long tail.
Pull the thread with a needle through each of the flo and pull it to close the hole.
Sew in the thread.
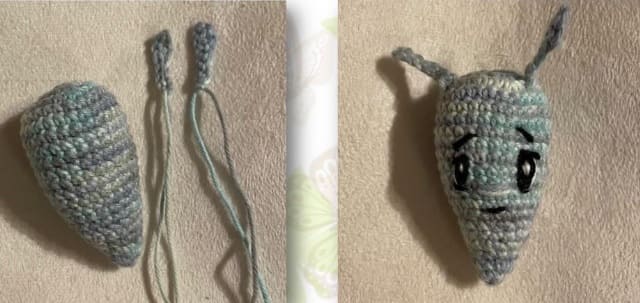
Antenna (Make 2)
Body color.
Rnd 1. 7 ch
Rnd 2. turn crochet in the 2nd stitch from the hook 2 sc, 4 slst.
Leave a long tail for sewing.
Sew the antennas to the body.
Embroider the face. If you used safety eyes, embroider some details around the eyes. Embroider the nose and mouth.
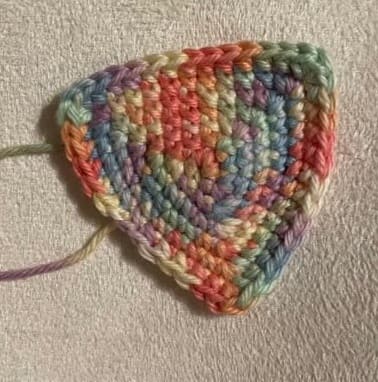
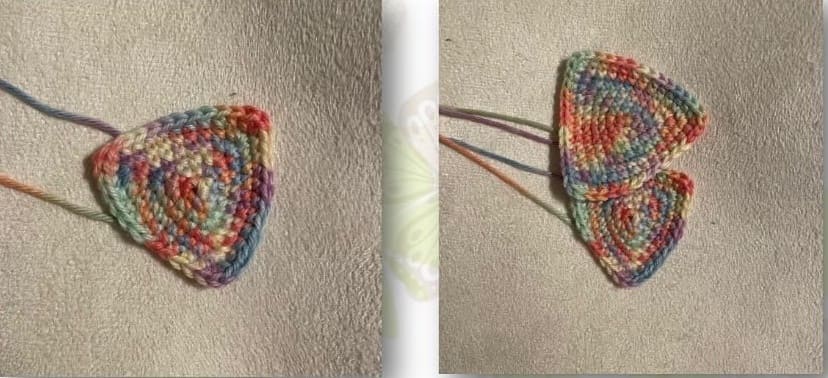
Wings (Make 2)
Color: colorful.
You can change colors after each round, after every two rounds, or not all. The color change is not listed in the pattern.
Rnd 1. 6 sc in MR (6)
Rnd 2. (3sc/st, 1sc)*3 (12)
Rnd 3. 1 sc, (3sc/st, 3sc)*2, 3 sc/st, 2 sc (18)
Rnd 4. 2 sc, (3sc/st, 5sc)*2, 3 sc/st, 3 sc (24)
Rnd 5. 3 sc, (3sc/st, 7sc)*2, 3 sc/st, 4 sc (30)
Rnd 6. 4 sc, (3sc/st, 9sc)*2, 3 sc/st, 5 sc (36)
End with a slst. Fasten off. Weave in the tail.
Sew both parts together to get one wing (as shown below).
Use a new thread for this.
Sew the wing to the back of the body. Make sure that the front of the wing faces forward.